
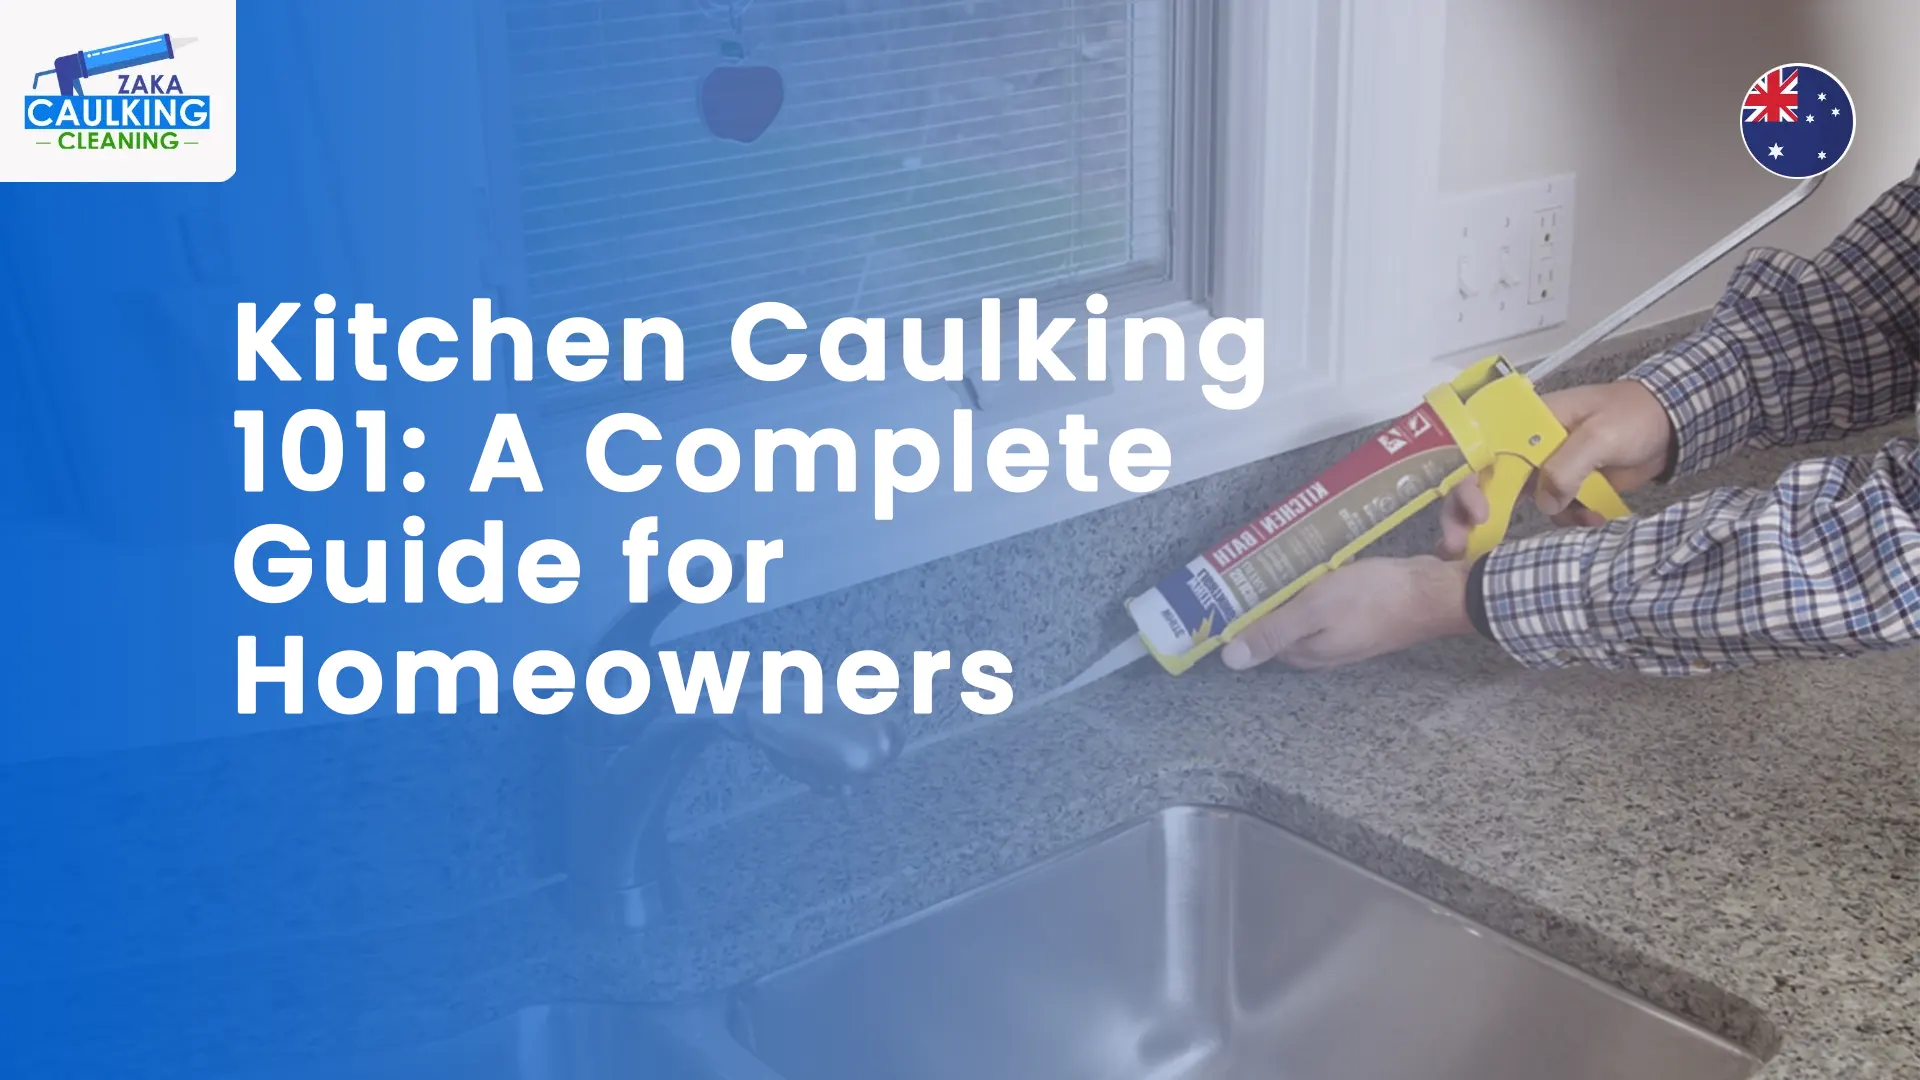
Kitchen Caulking 101: A Complete Guide for Homeowners
One of the great ways to have a sleek and clean kitchen is proper kitchen caulking. Food debris and dampness in corners and crevices come up as time passes. This may lead to mold, water leaks, and spots that are hard to remove. It means caulking kitchen surfaces is crucial not just for beauty. But it will also preserve structure, longevity, and cleanliness.
Further, the ability to create a waterproof defense shows the importance of proper kitchen caulking. It will seal gaps near tiles, cabinets, backsplashes, and counters. This ensures an enduring finish, keeps your surfaces clean, and stops water leaks. Moreover, a properly caulked kitchen is easier to clean and keeps its seamless and new appearance for many years.
Eventually, ignoring this step can cause expensive issues. Under-counter moisture can destroy wood, loosen tiles, and increase the spread of mildew. Because they are often close to water, areas like the caulking around the kitchen sink are prone to. In the same manner, caulking kitchen tiles helps stop lifting and cracking, which are often caused by hidden dampness.
If you apply quality caulking, it will improve the look and value, and also protect your kitchen. You can trust experts like Zaka Caulking and Cleaning to make sure every joint and corner is sealed properly. Let’s first learn how to caulk your kitchen every part!
How to Caulk Your Kitchen?
More than merely filling in gaps, kitchen caulking preserves grouting. It increases longevity and guards against water damage for a pristine and lasting finish.
How Caulking Complements Grouting?
When grout is not enough to reinforce your surface, caulking kitchen will help. Grout gives a solid base, but caulking lends seams and edges flexibility and safety.
Step-by-Step:
- Clean and dry the surface
- Put painter’s tape on it
- Cut the nozzle at an angle
- Evenly apply caulk
- Smooth it out
- Before drying, take off the tape
Sealant Comparison:
- Silicone: It is perfect for lasting safety and damp areas.
- Acrylic Latex: Not as waterproof. But easy to paint and apply.
- Hybrid Sealants: It is ideal for a lot of surfaces. This may cover marble, granite, tile, and laminate.
Further, kitchen caulking is necessary for everyday use. This is because of this combo, which makes sure of a flexible and permeable finish.
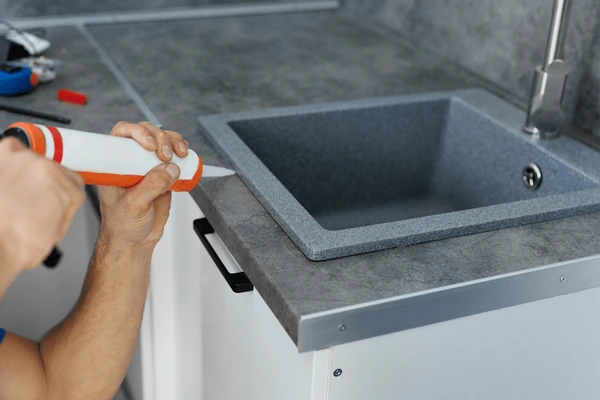
How to Caulk Kitchen Counter?
Kitchen counter caulking prevents moisture and mildew. It is by sealing the spaces between the countertop and the wall. For a perfect seal, fully wash the area, apply the bead gently, and level. Silicone or hybrid sealers work well on stone or laminate. This keeps the counter strong and clean by preventing water leaks.
Best Caulk for Kitchen Counter:
- For leak-proof sealing, use only silicone.
- Hybrid sealers that offer both resilience and mobility.
How to Caulk Kitchen Sink?
The best caulk for kitchen sink will stop leaks, stains, and mold. Take off the old caulk first. Next, clean the area safely and allow it to dry. Over the sink edge, apply an equal bead, gently rub it, and wipe up any surplus promptly. With this, a clean finish and waterproof seal are assured.
Best Caulk for Kitchen Sink:
- 100% silicone for superior defense from moisture.
- Formulas that resist mildew for long-term defense.
How to Caulk Kitchen Backsplash?
Debris and moisture won’t seep into the joints thanks to the caulk for kitchen backsplash. For the ideal finish, rinse the areas of the wall tiles and the backsplash. Silicone works well for tiles. On the contrary, hybrid sealers are perfect for combos like stone and laminate.
Best Caulk for Kitchen Backsplash:
- Marble and tile silicone.
- Hybrid resins for bonding many surfaces.
How to Caulk Around Kitchen Cabinets?
Gaps that trap wetness and dust will be sealed by caulking around kitchen cabinets. Use painter’s tape for fine lines. Then, carefully apply a fine bead. It is better to finish seams along the laminate or wood. This is because acrylic latex is easy to paint.
Best Caulk for Kitchen Cabinets:
- Acrylic latex for a paintable surface and simple use.
- Hybrid for greater resilience in areas that are prone to dampness.
How to Caulk Kitchen Tile?
To stop water leaks and cracks, caulking kitchen tile and joints where tiles meet other surfaces. For a simple seal, rinse the grout lines and let them dry fully. And then, apply silicone or hybrid caulk. For a look of polish, wipe, and remove any excess.
Best Caulk for Kitchen Tile:
- Silicone for mobility and defense from moisture.
- For long-term strength and pristine finish, use hybrid sealers.
Maintenance Tips & Common Mistakes during Kitchen Caulking
Regular care is vital to keep your kitchen caulking clean, free of harm, and enduring. You can save yourself from costly repairs later if you take care of it now.
- Inspecting Frequency: Check your kitchen caulk every six to twelve months. It is to make sure that it’s still in place and properly fills in any gaps.
- Signs of Damage: You have to examine for loose corners, black mold, or cracks. These are signs that show caulk fails and needs replacement.
- Common Mistakes: Caulk’s lifespan will be short if you use the wrong type. Also, skipping surface prep weakens grip, and excessive use can result in uneven lines.
- Pro Maintenance Tip: Keep caulked areas dry and clean at all times. As soon as you see damage, reapply to avert more serious issues.
In simple words, a well-kept seal has many benefits. You must check, clean, and reapply as necessary. Timely upkeep will ensure a clear finish and long-term safety. In short, it can keep the resilience, hygiene, and safety of your area.
Final Words
Ultimately, a well-kept and sealed kitchen offers enduring safety in addition to visual appeal. However, mold prevention, moisture exclusion, and a smooth surface are all achieved with proper kitchen caulking. Picking the best caulk for kitchen counter ensures both longevity and a shiny look. Moreover, to avoid expensive damage and preserve cleanliness, regular checking and upkeep are crucial. Homeowners can make a defense that protects both appearance and performance. It is done by caulking kitchen surfaces such as sinks, tiles, and counters. The life of your kitchen increases and its look is enhanced if you apply quality caulk to kitchen surfaces. So, put your trust in professionals like Zaka Caulking and Cleaning for lasting results and precise sealing.
FAQs
Q: How often must you re-caulk your kitchen?
Every 12 to 18 months or quicker. You must re-caulk if you see rising edges near surfaces, mold, or cracks.
Q: Can I caulk over old caulking?
Applying fresh caulk over previous caulk is not good. However, a cleaner, more durable, and long-lasting seal is ensured. It is possible only when the old caulk is removed.
Q: How do grout and caulk in kitchens differ?
To stop leaks in corners, caulk seals joints and edges. In contrast, grout fills in spaces among tiles and fixes them.
Q: How long does kitchen caulking take to dry?
It often takes a day or so for kitchen caulk to fully dry. Some silicone caulks that dry faster can set in a few hours.
Q: How much does it cost for kitchen caulking?
The cost depends on the area size, materials, and professional service charges. It will vary from $50 to $200.