

How to Remove Silicone Caulk Step-by-Step?
Have you ever stood in your bathroom, thought about how to remove silicone caulk? All of this without ruining your patience and tiles? Because as time passes, old caulk will get moldy or cracked. It can be not so easy to find the best way to remove silicone. But it feels like preparing for combat in a wet zone. Moreover, you can restore the clean and pristine finish your bathroom deserves. All of this you will get with a well-thought-out strategy. So, let’s have a look at the smart method for removing silicone caulk from Sydney homes.
Why It’s Time to Say Goodbye to Old Sealant?
In the humid climate, silicone caulking is continuously under stress. Like in bathrooms in Sydney houses. Damage can result from various reasons. These are splashes close to the bathtub, the odd drip, and steam from showers. Ultimately, the old caulk can collapse, shrink, or give mold a comfortable setting to grow. At that time, you need to think about the best way to remove silicone caulk without making matters worse.
Old and broken caulk can let water infiltrate under your walls or tiles, in addition to being ugly. Future issues will be more severe as a result of this. This is why knowing how to remove silicone caulk is vital for both looks and protection.
Tools & Preparation: Build Your Kit
Get what you will need before you start:
- A special caulk removal tool (blade if careful) or a utility knife
- Putty knife or plastic scraper
- Vinegar or baking soda
- Heat source for tough areas
- Rags or paper towels
- Commercial or solvent caulk remover
- Sponge or brush with soft bristles
- Safety gloves
Also, having the right tools will help you to have flawless, easy progress and avoid the mess. This is when you are learning how to remove silicone caulk. Now, let’s know the process of removing silicone caulk!
How to Remove Silicone Caulk?
In this section of the article, you will know how to remove silicone caulk with safety and assurance to upgrade the bathroom:
Step I: Soften the Sealant
To gently warm up the sealant, use a hair dryer or heat gun on low. This helps prevent harm to floors or tiles by loosening the bond. As an alternative, use a solvent, alcohol, or commercial remover as a softening agent and leave it in place. This is the best way to remove silicone cleanly.
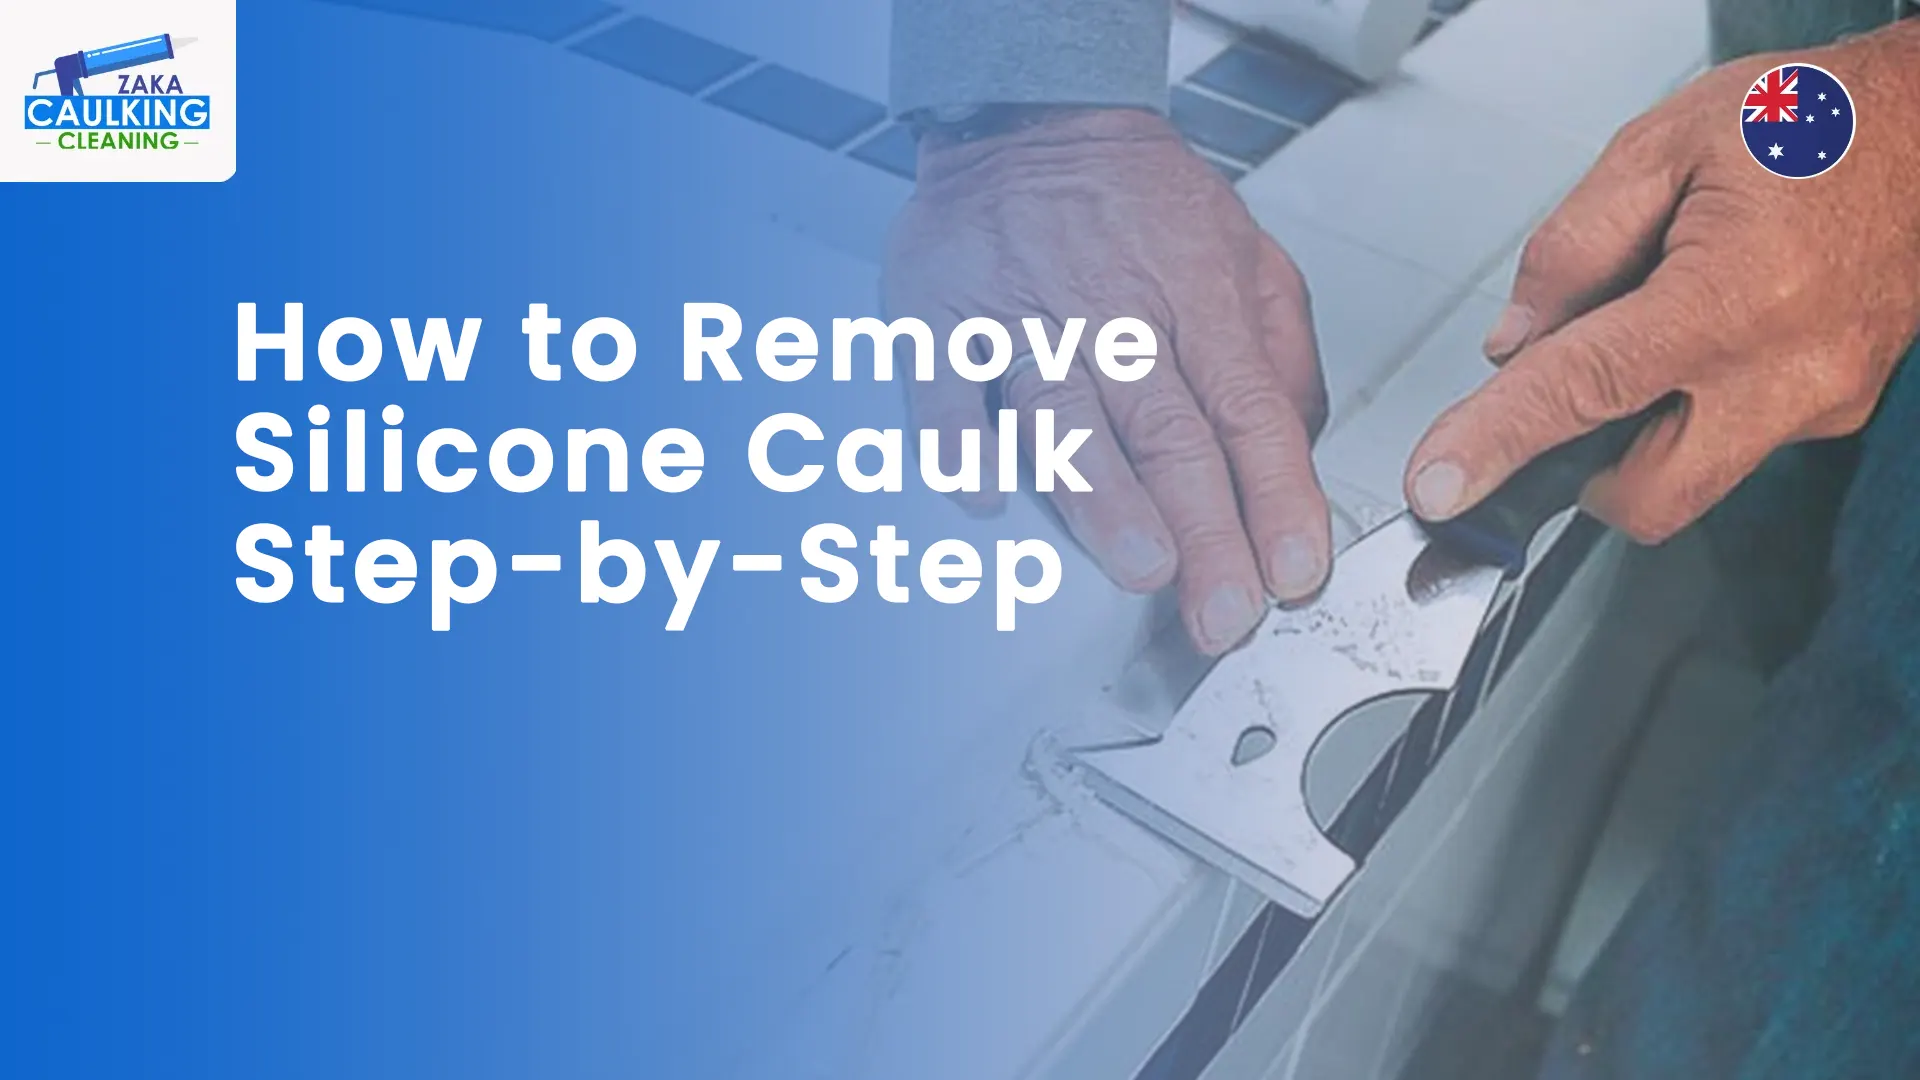
Step II: Cut and Lift the Bead
Cut the old silicone caulking bead along both edges with a utility knife. Next, slowly and steadily lift and peel away the loose material with the scraper or putty knife. Here, hurrying may harm the surfaces below.
Step III: Scrape Residue Clean
There will probably be a small layer or tiny pieces of sealant behind. Even after the majority of it has been removed. You can use a plastic scraper or a solvent (or alcohol) to get rid of these wastes. This ensures a strong base if you decide to reapply. Therefore, for knowing how to remove silicone caulk without leaving a dirty surface behind, this step is essential.
Step IV: Clean the Surface
When the old sealant has been removed, deeply clean the area. A simple dish soap and warm water work well for regular cleanup. On the other side, vinegar or baking soda paste for hard dirt or mold may be helpful. Dry the surface fully. Your area is then ready for re-sealing.
Step V: Let It Dry & Inspect
Make sure the gap or joint is fully dry and free from waste. Check for any flaws or damage. The new caulk won’t stick correctly if the surface is still wet or has micro-gaps. Approaching how to remove silicone caulk using this complete method helps prevent having to redo the work too soon.
Handling Showers & Wet Zones
Shower caulk frequently fails first in high-moisture areas. Like the area close to a bathtub or in a shower. Soften, cut, lift, scrape, clean, and dry using the same process. Moreover, if you want lasting results, it’s more crucial than ever to properly remove the old caulk in these high-stress places. Here, the best way to remove silicone caulk results in better longevity, fewer leaks, and lesser issues.
Cleaning vs Full Replacement
Your sealant can sometimes still be largely intact but show discoloration or mold growth. However, it is enough to clean the present silicone in the bathroom in some cases. Add vinegar or baking soda to the mix of warm water and mild dish soap. It is for spaces that are a bit hard. Now, gently scrub with a soft brush, rinse well, and pat dry. Without fully removing anything, this cleaning method keeps all fresh.
In short, to remove the old silicone caulk and apply the new one is the better long-term remedy. This is only if the bead is shrinking, splitting, or lifting.
Aftercare to Make it Last
Good habits ensure that the silicone caulking lasts after the previous sealant is removed. However, if necessary reapplied. Some tips to follow:
- Clean the corners and edges after heavy use.
- Every few months, check the signs of mold or dirt on seals.
- You can use a non-toxic cleaning product. It is to prevent scratching the sealant bead.
- To lessen steam, open a window or turn on your bathroom fan.
This upkeep ensures that your long-term efforts are rewarded to remove and re-seal.
What is the Best Time to Call Experts?
Large expanses, complex angles, multiple layers of old sealant, or delicate finishes can make the work unsafe and time-taking. Many Sydney homeowners choose to work with professionals like Zaka Caulking and Cleaning. They are skilled in effectively removing silicone caulking and applying the correct new caulk. Also, they have the equipment and know-how to properly restore anything. It is because they have witnessed the worst peel-outs, mold growth, and failing edges.
Final Summary
To sum up, now you know how to remove silicone caulk with safety and confidence. Whether it is cleaning surfaces and getting ready for a new seal or softening and lifting old beads. Your bathroom will look amazing and work well when you follow the best way to remove silicone. Additionally, keep in mind that Zaka Caulking & Cleaning are skilled experts ready to take over if the task seems too huge. In short, you will have peace of mind and clean or sharp joints with proper maintenance.