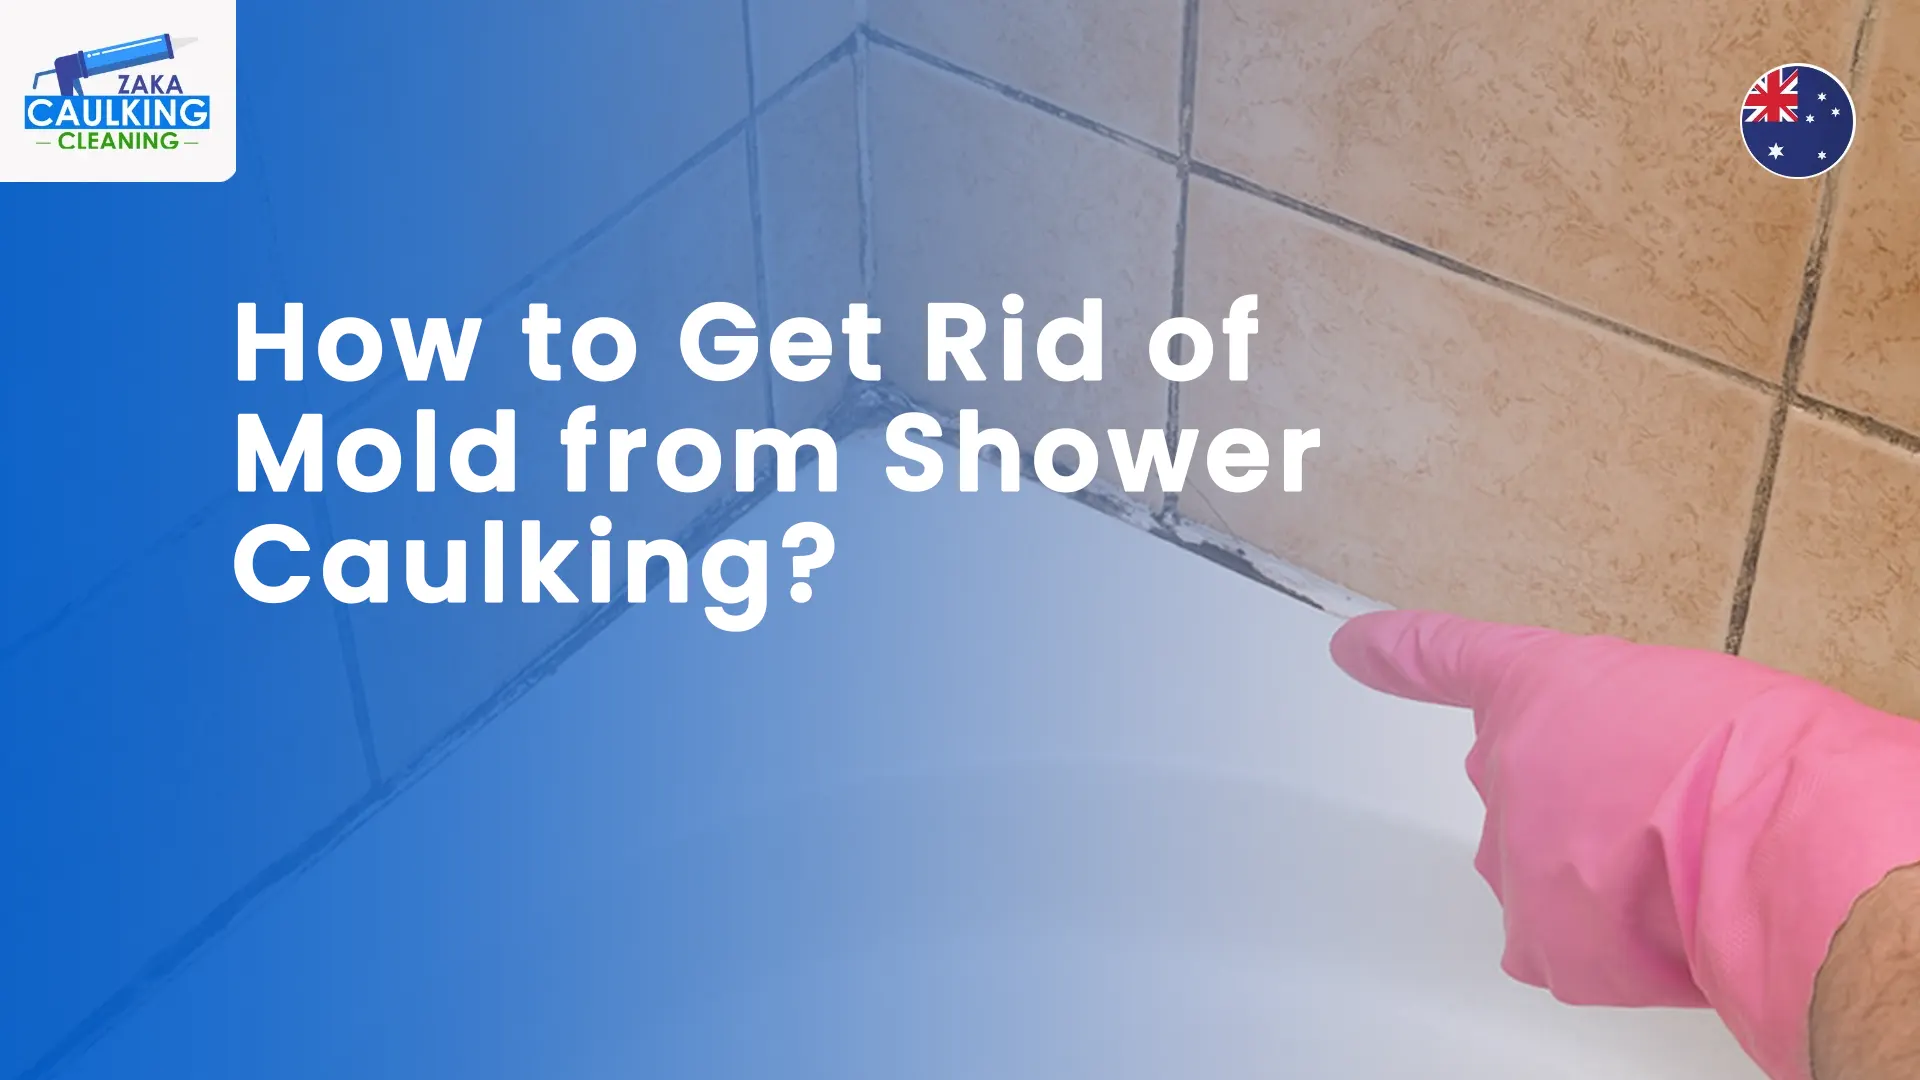
How to Get Rid of Mold from Shower Caulking?
Are you still looking at those black and creeping lines near your shower caulking? Or are you wondering how to get rid of mold? Firstly, you are not alone, and you’re about to empower yourself with practical remedies. Unwanted growth thrives in your shower area owing to a blend of various things. These are moisture, warm steam, and soap leftovers. However, you can reclaim your shower and keep it clean with the proper methods, not simply a quick wiping. Let’s examine how to remove mold, repair your caulking, and maintain its pleasing appearance.
Why Does Mold Grow in Your Shower Caulking?
The mold rises in the bathrooms due to their inherent heat and wetness. The shower caulking adheres firmly to tile, stone, or bath surfaces. This is specifically around shower corners, areas where water lingers. Further, removal guides claim that caulk’s porous nature and frequent contact with moisture make it a welcoming habitat for spores.
Also, you have a recurring issue when you consider the soap scum and residue that feed the mold. It grows inside caulking that is old, broken, or not properly sealed. At that time, cleaning is not enough; the caulking will need to be fully changed.
Preparing for the Mold Banishment Mission
Prepare your area and get the necessary things before you get your hands dirty:
- You must make sure that you have proper ventilation. It is by opening a window or using a fan to remove moisture and chemical smells.
- Put on gloves, possibly eye safety, and a mask if the restroom is too stuffy.
- The shower area has to be swept out. Shampoo bottles, rugs, towels, and other items that hinder your path or cause dampness must be put away.
- Make every effort to dry the area. This is in order to operate on a workable surface instead of a wet one.
In short, you have to keep enough airflow and treat shower caulking early. This will keep your bathroom space fresh and free from mold. But what is the process to remove this mold? Let’s know it now!
How to Get Rid of Mold?
Here is the effective process that addresses the underlying issue in addition to cleaning:
1. Pick Your Cleaning Solution
- Use a mix of one part bleach to ten parts water to spray the moldy region of the caulking. After that, give it 10 to 15 minutes to sit.
- Use pure white vinegar or a vinegar and baking soda mix as an alternative. Thus, it has been shown that vinegar works quite well.
- To clean stubborn stains, make a paste out of baking soda and water.
2. Apply & Let it Work
- The shower area with visible mold must be sprayed or brushed directly with the selected agent.
- Allow it to soak through the caulk to release the hidden growth as addition to cleansing the surface.
3. Scrub the Area
- Scrub along the caulking bead with a sponge, stiff-bristle brush, or an old toothbrush. The goal is to remove discoloration, cleanse the mold, and clear the corners and edges.
4. Rinse & Dry Fully
- Deeply dry the whole space after rinsing with fresh water. Moreover, the presence of wetness increases the growth of mold.
5. Decide If to Replace the Caulk
- The best course of action is to remove the old one and apply new caulk. It is only if the caulking is broken, peeling, or more faded or if the mold still grows.
- You must use a premium shower silicone sealant or another sealer that resists mold for bathroom use. Therefore, it will prevent future growth.
So, follow the above steps to get a mold-free space near your shower caulking. Also, you can follow some tips that will protect your shower area in the future from mold. In the next section, let’s see these tips!
Prevention: The Key to Keeping it Gone
Cleaning is necessary. But without prevention, it is not enough. However, to prevent mold from growing in your shower caulking:
- You can use the exhaust fan or open a window. And, run a small dryer to keep the proper airflow in the area if necessary.
- After showering, use a towel to wipe up the caulking line, walls, and edges. Or to get rid of excess water, you may use a sponge.
- While recaulking, use silicone or mold-proof shower sealant. It means the investment pays off by stopping the mold from repeating.
- You must do regular cleaning. However, it involves a quick wipe once a week and an in-depth review of the caulk once a month. This will help you spot any early signs of peeling or stains.
Therefore, these tips will help you with the safety of your bathroom shower space. But there is a time when calling experts is vital. But the main question is when? Do you know? If not, then read ahead!
When to Call Experts?
Sometimes, the mold close to your shower caulking keeps coming back. However, it will increase, no matter how hard you try. This will suggest that water has come under the walls or behind tiles. Also, it means that the caulk work was done incorrectly in the first place. In such scenarios, seeking expert support makes sense. It is because they remove the old caulk, cure the base area, and apply a quality product that resists mold and dampness. So, in reality, you are solving the underlying issue instead of just the visible stains.
Final Summary
To sum up, managing mold close to your shower caulking is crucial. However, it is not only for looks, but also for keeping a clean, dependable, and healthy setting. The task becomes doable once you understand how to get rid of mold. Clean the current growth, replace any broken caulk with the best shower silicone sealant, and set smart routines to control dampness. Moreover, you can avoid months of stress later by making a small effort today. So, don’t be afraid to get professional support from Zaka Caulking & Cleaning to fully restore your shower if you ever feel the task is too huge or mold keeps recurring.


